How To Create And Submit A Pay Application Invoice?
Learn how to create and submit a pay application, upload and map invoice details, attach the required lien waiver, review the G702/G703, and submit the application to the customer for approval.
Written By Susy Lozoya
Last updated 3 days ago
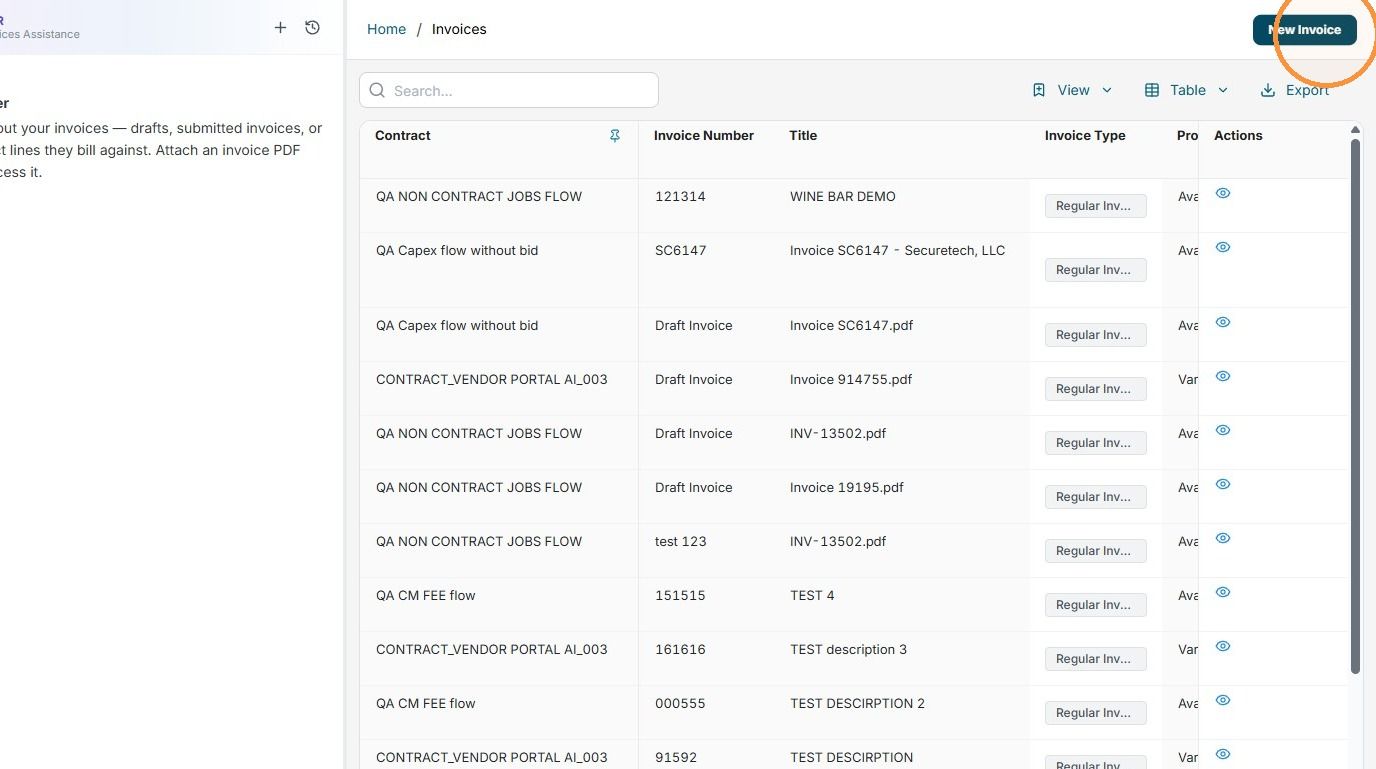
1. Click "New Invoice"
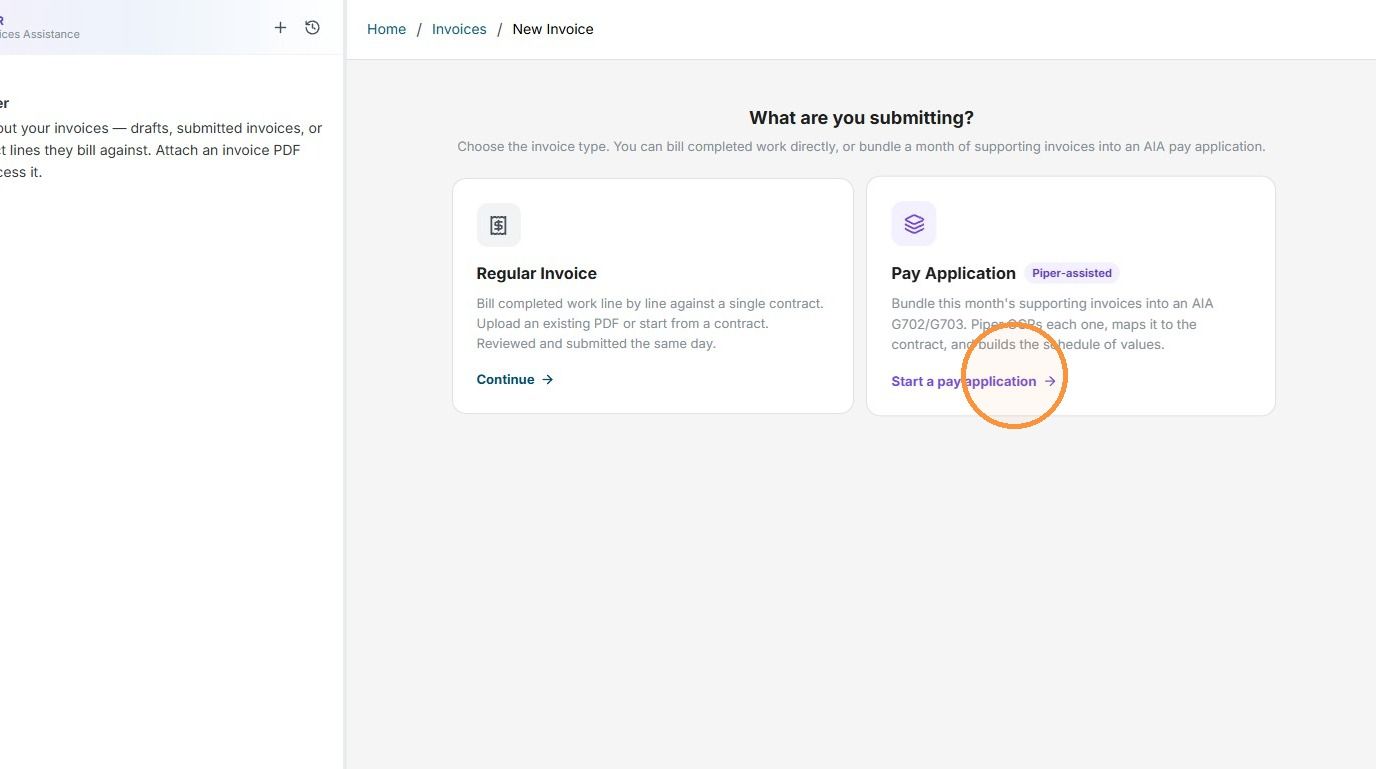
2. Click "Start a pay application"
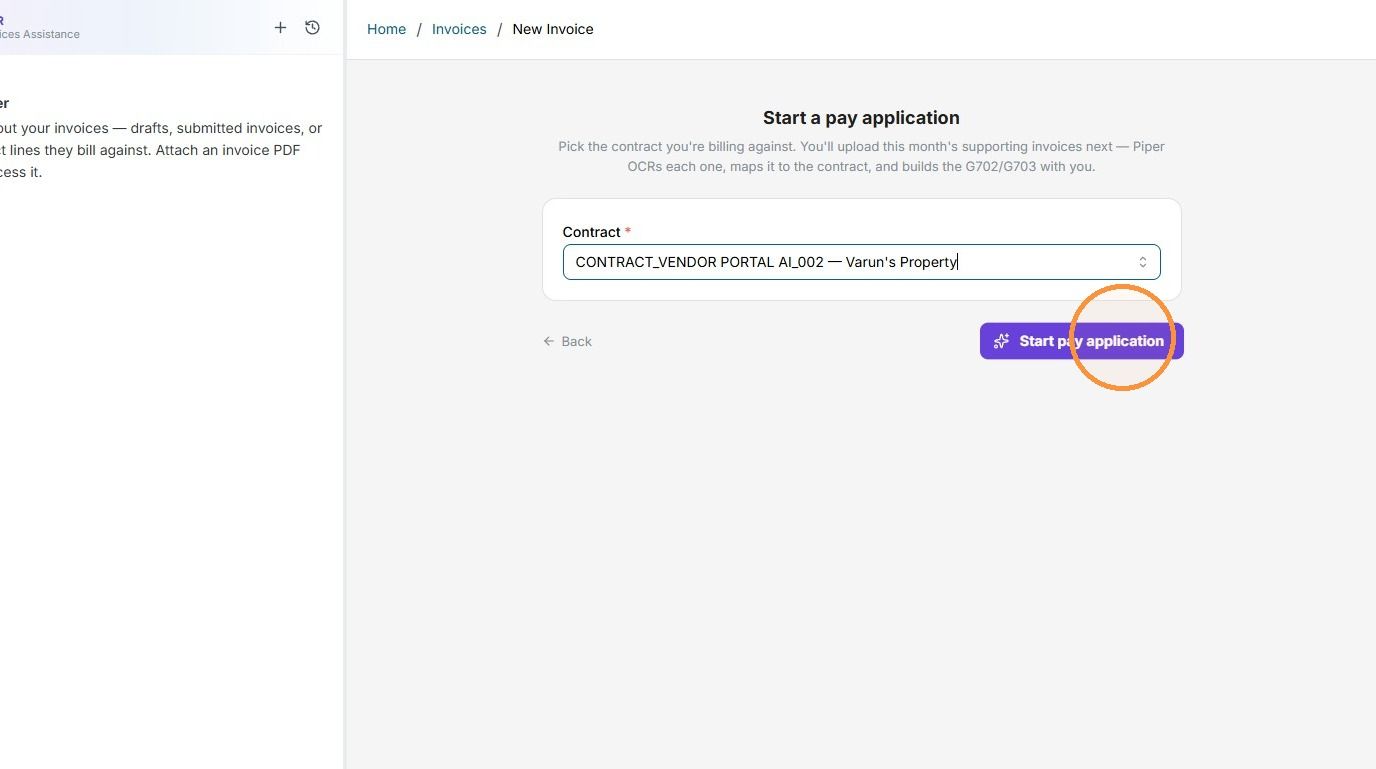
3. Select the contract you’re invoicing for, then click Start Pay Application to begin creating your invoice.
4. On the right side of your screen, you’ll see all the required fields needed to submit your pay application invoice. Make sure to enter the correct billing dates and invoice name, along with any other required information.
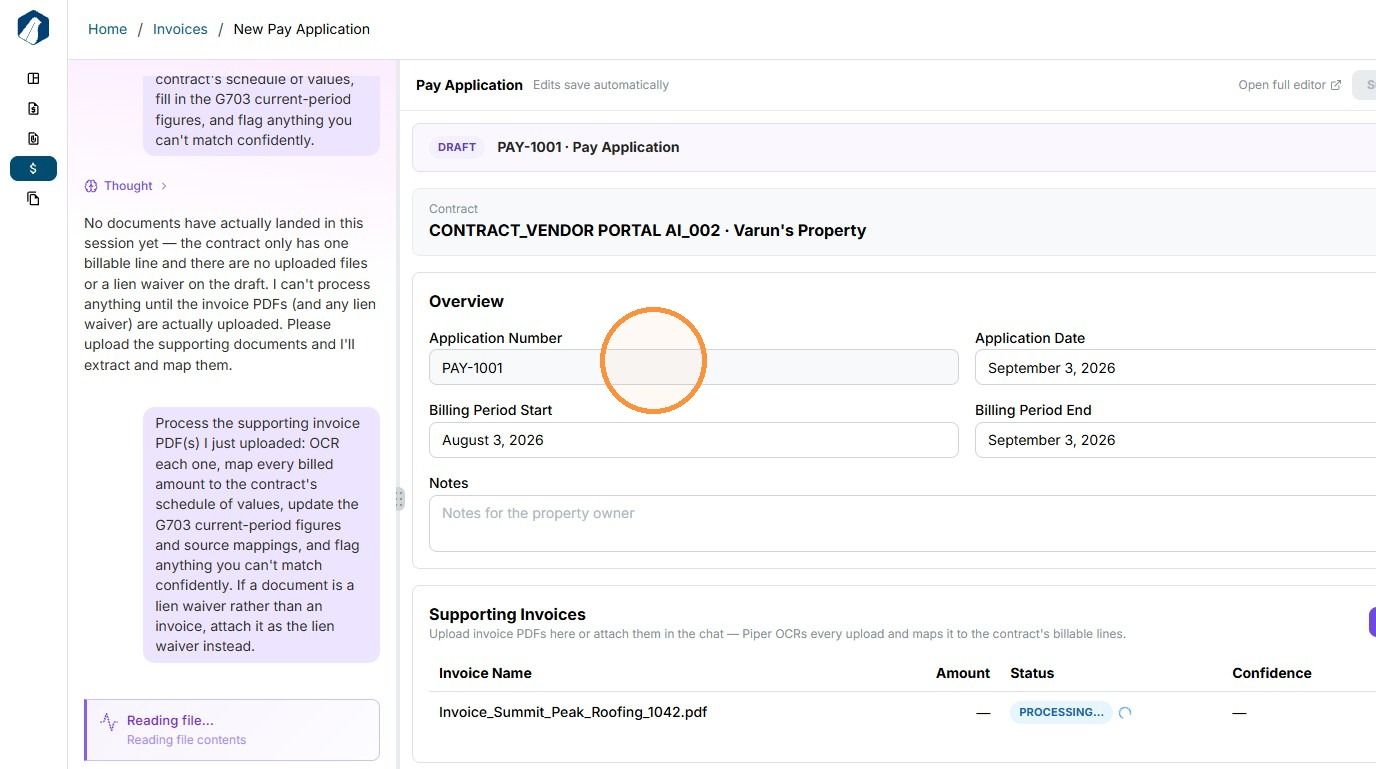
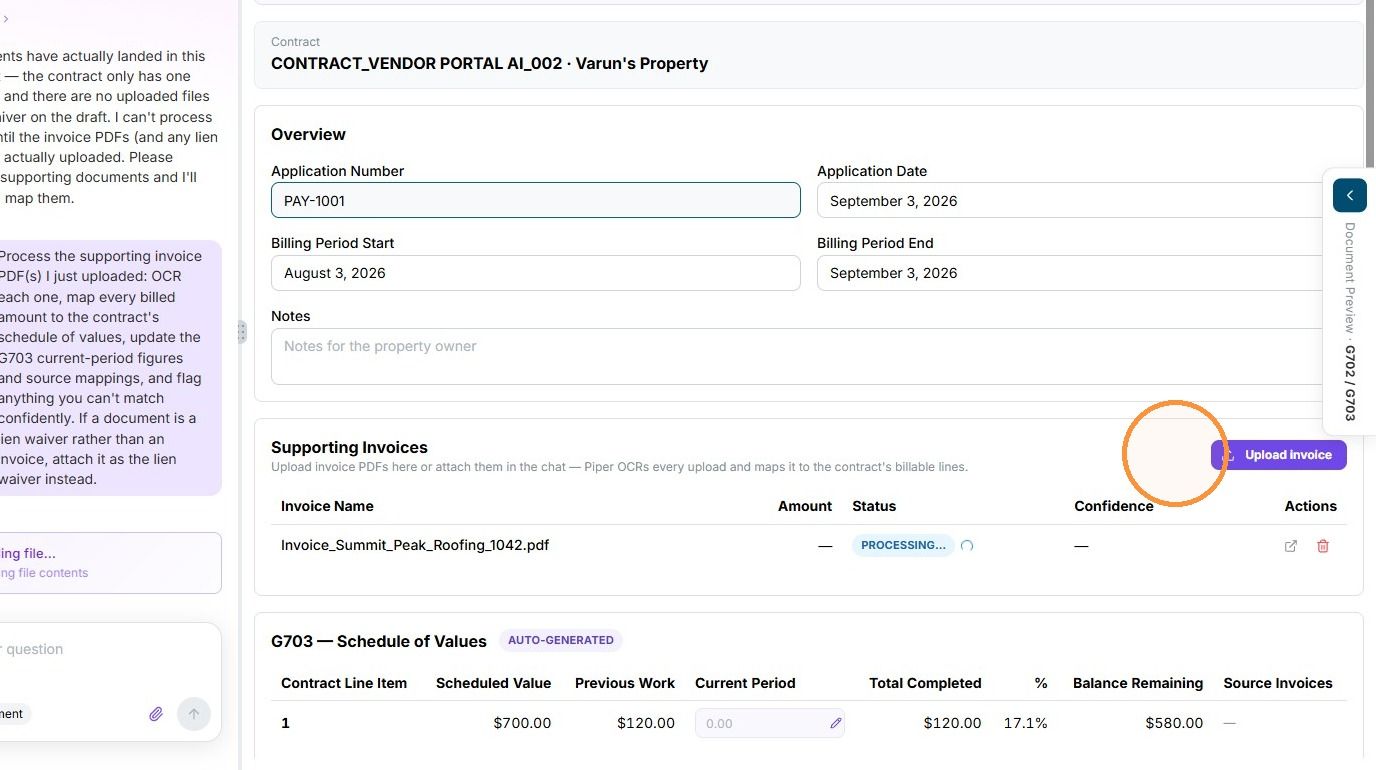
5. You can also upload your invoice file by clicking Upload Invoice, or you can upload it directly in the chat.
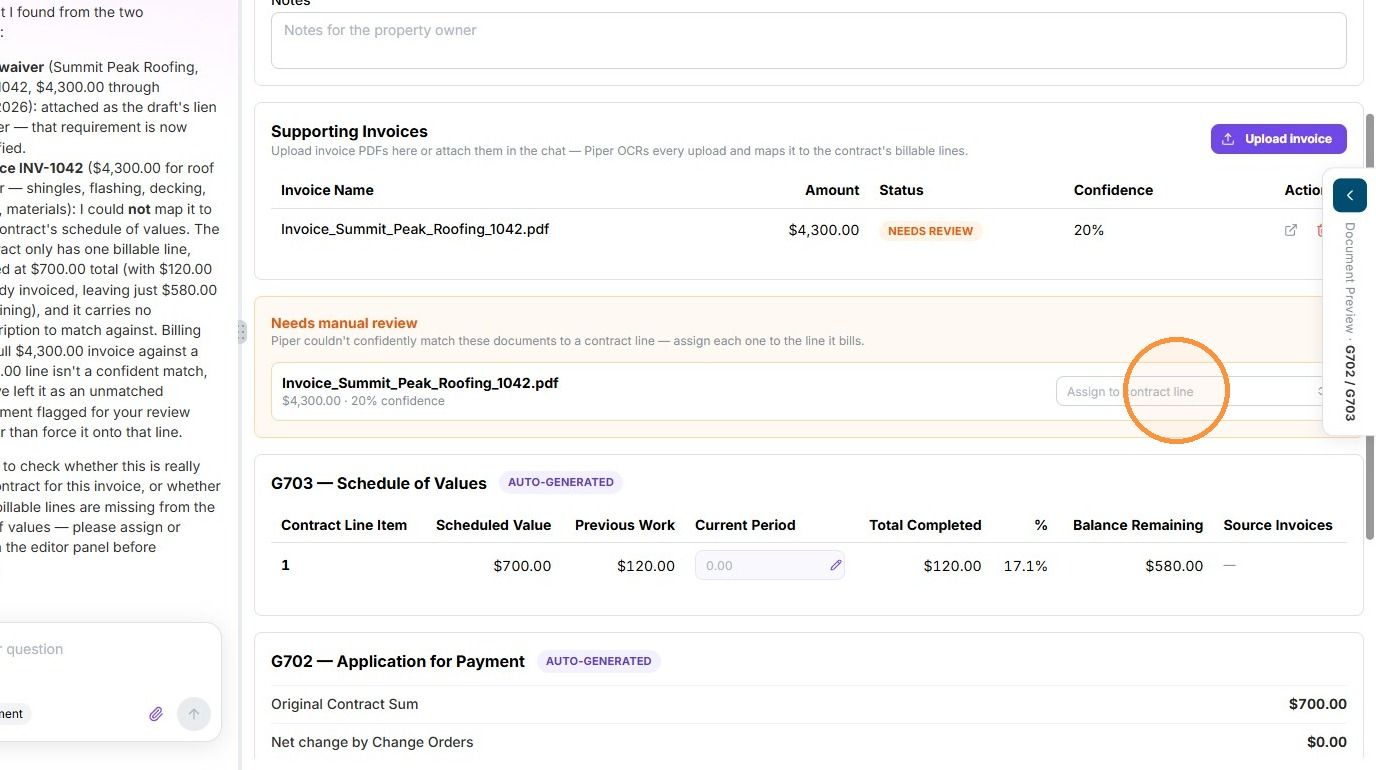
6. Once your invoice has been mapped, any items highlighted in orange will need to be reviewed manually. This means you need to assign the invoice item to an existing scope item in the contract.
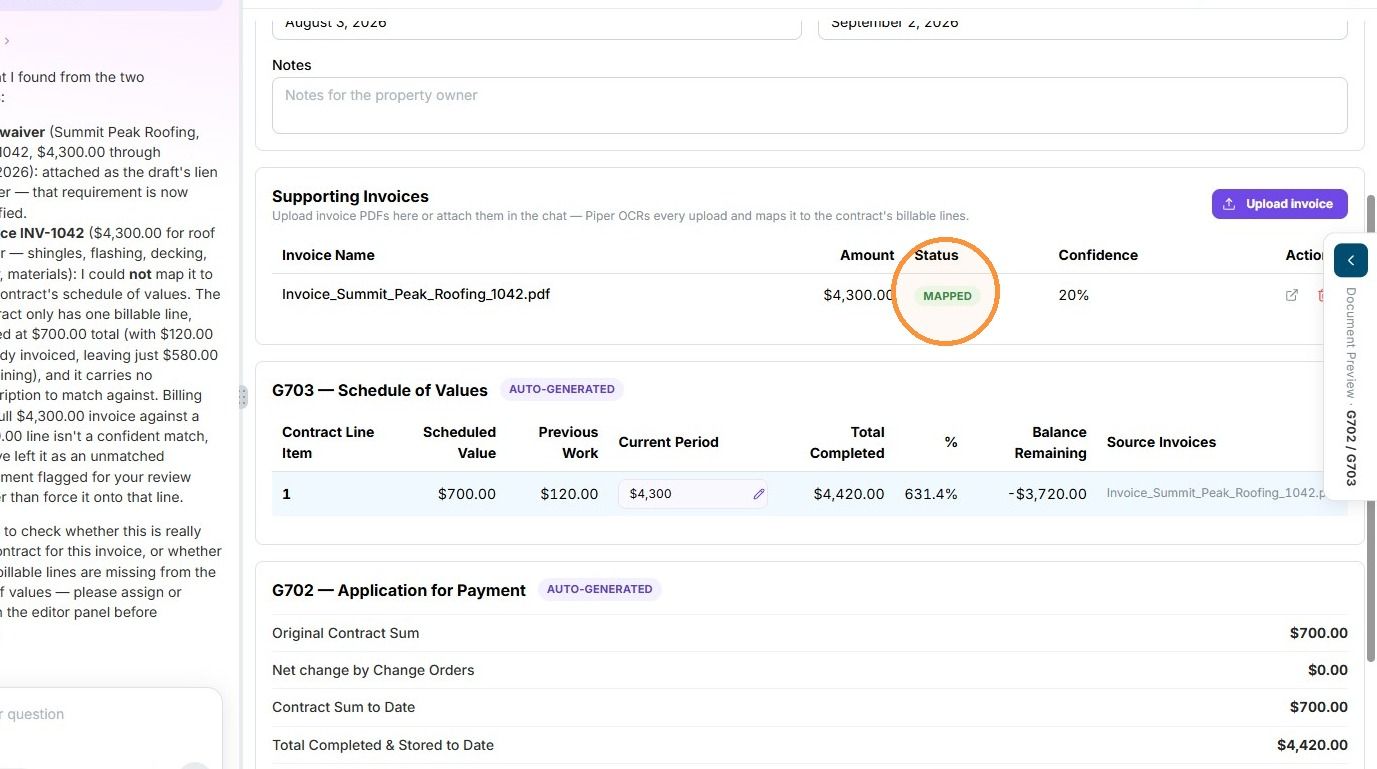
7. Once you assign the invoice item to a scope item, you’ll see that it has been successfully mapped.
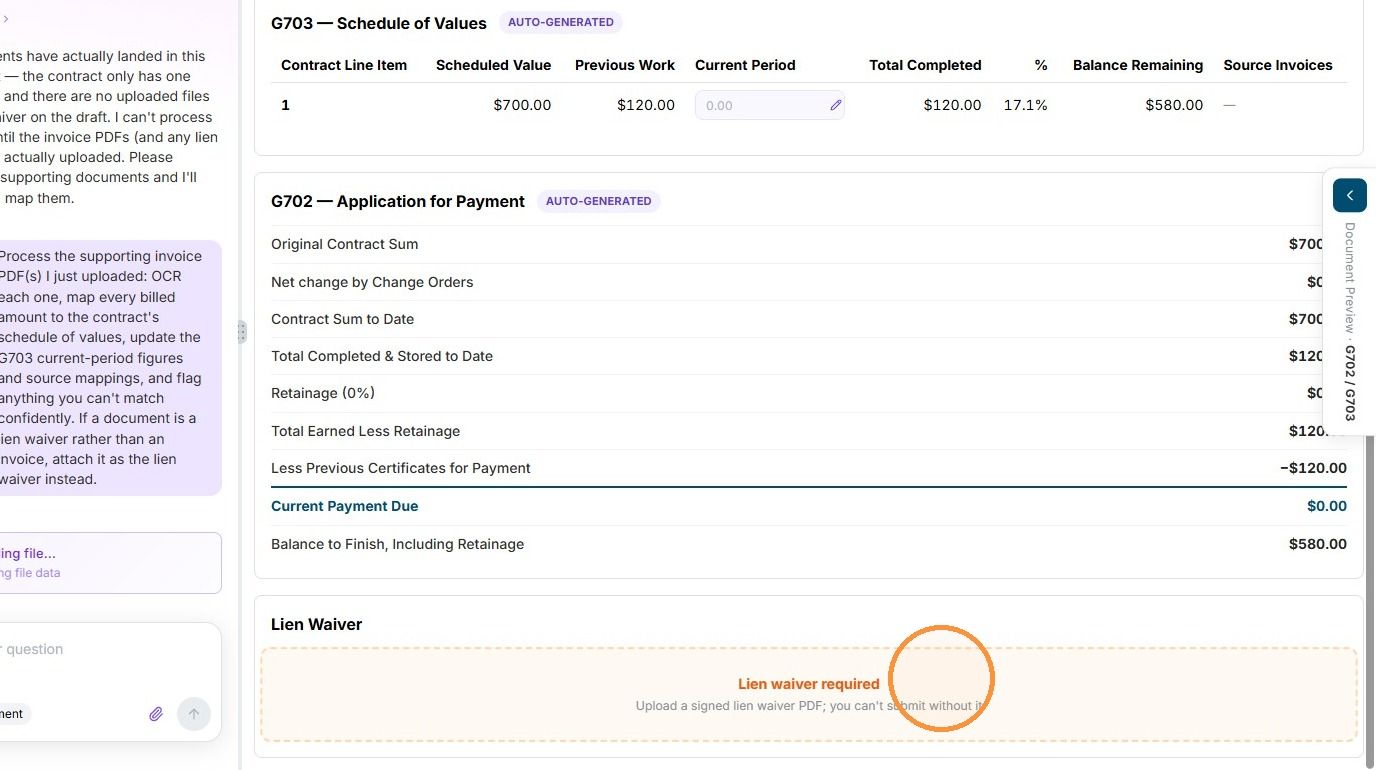
8. At the bottom of the invoice draft, you’ll find the required field to upload your lien waiver file.
Make sure to upload the lien waiver, as you won’t be able to submit the invoice without it.
9. Afterward, you can click the G702/G703 Preview located on the far right side of the screen to review your invoice.
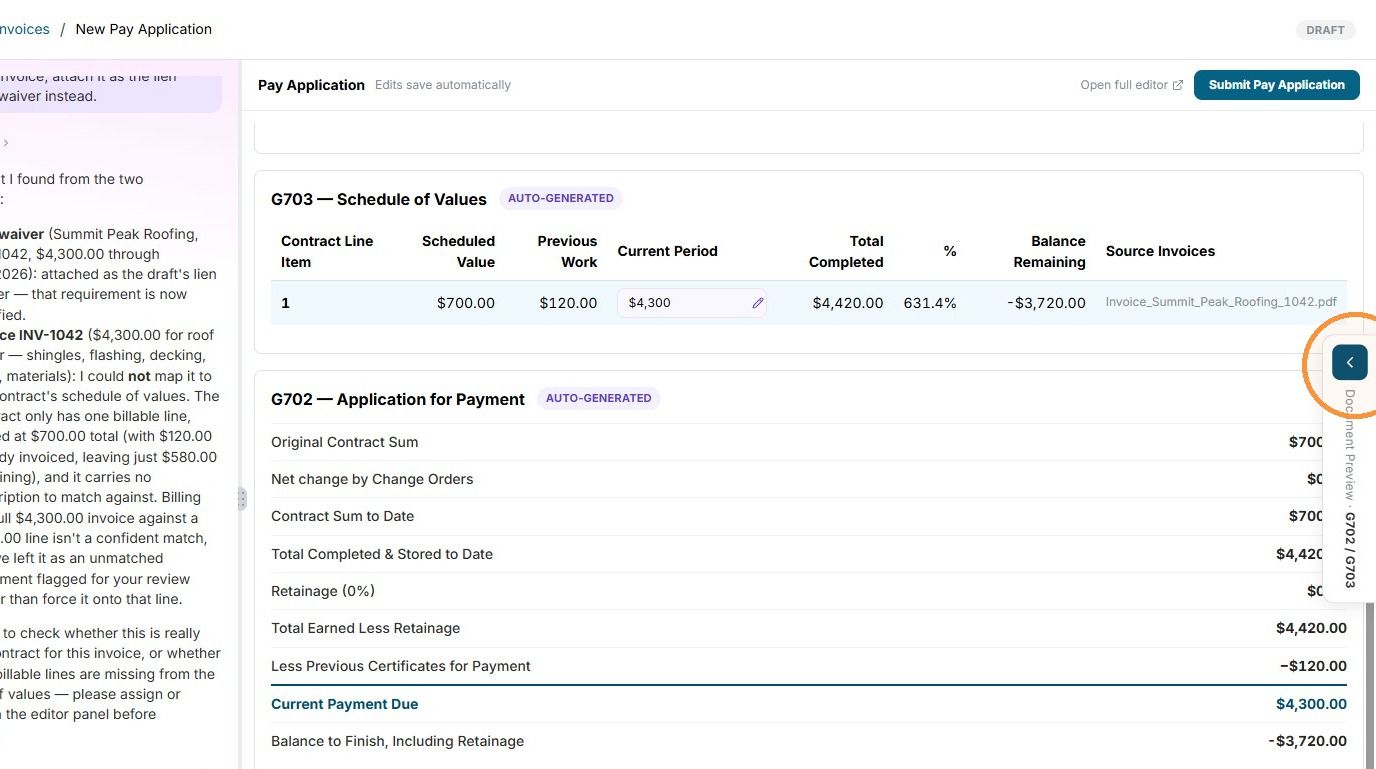
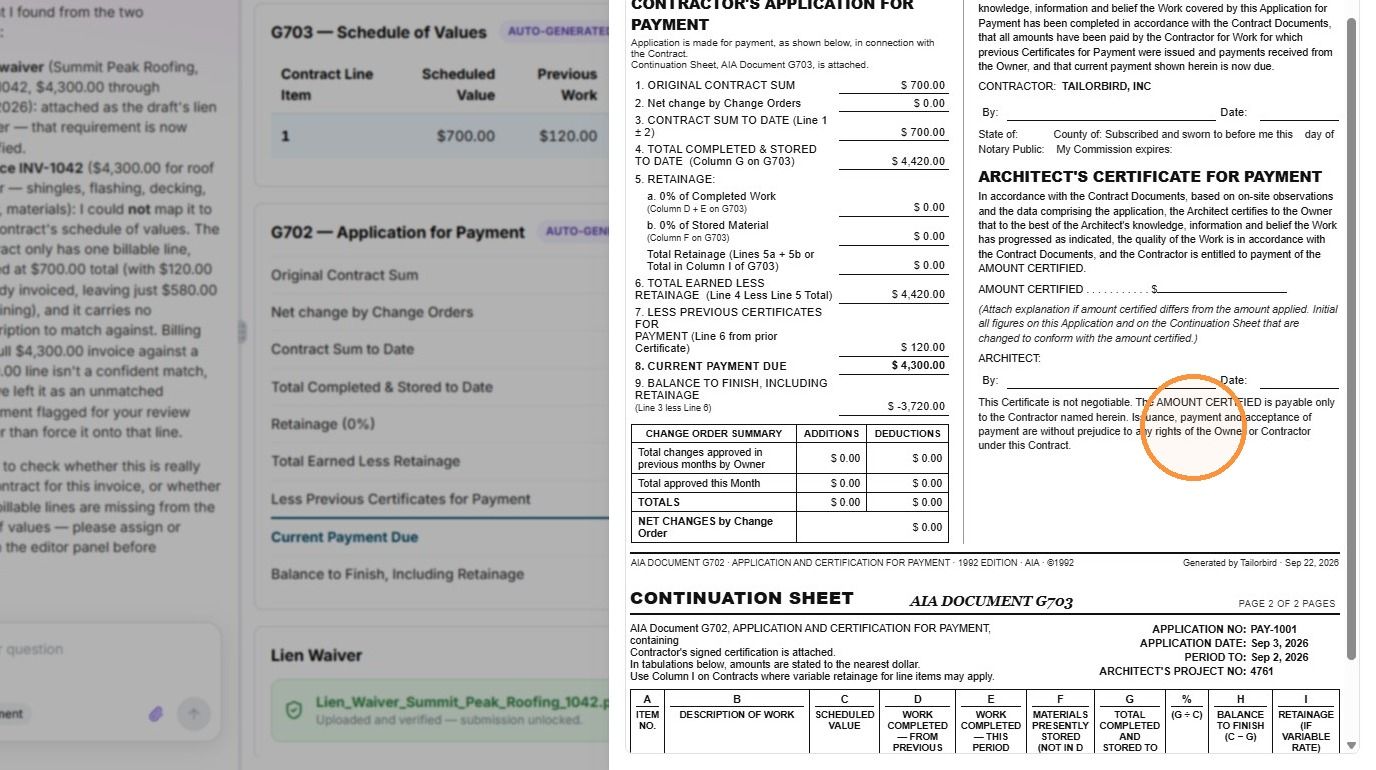
10. Afterward, the G702/G703 will display as a preview for your internal review. Once you’re done, click “X” to close the preview.
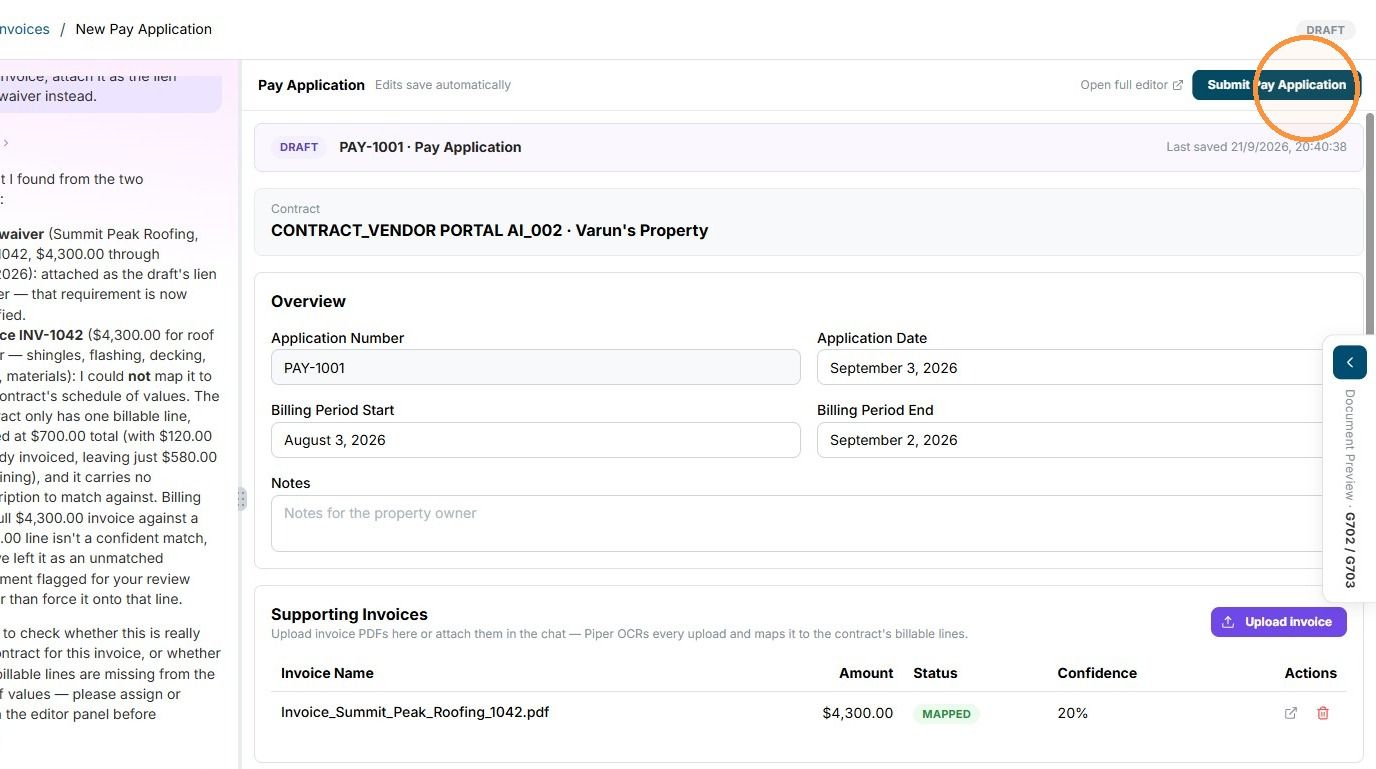
11. After reviewing all required fields, the invoice amount and details, and any additional files needed to complete your pay application, click “Submit Pay Application.”
Your pay application will then be sent to the customer for approval or rejection. Make sure to stay in touch with the customer to keep track of the current status of your invoice.
Still need help? Ask the team