How To Create And Submit a Regular Invoice?
Learn how to create and submit invoices in Tailorbird Core using either a PDF upload or manual entry with Piper’s assistance. Review extracted or entered data, confirm the details, and submit your invoice for customer approval.
Written By Susy Lozoya
Last updated 3 days ago
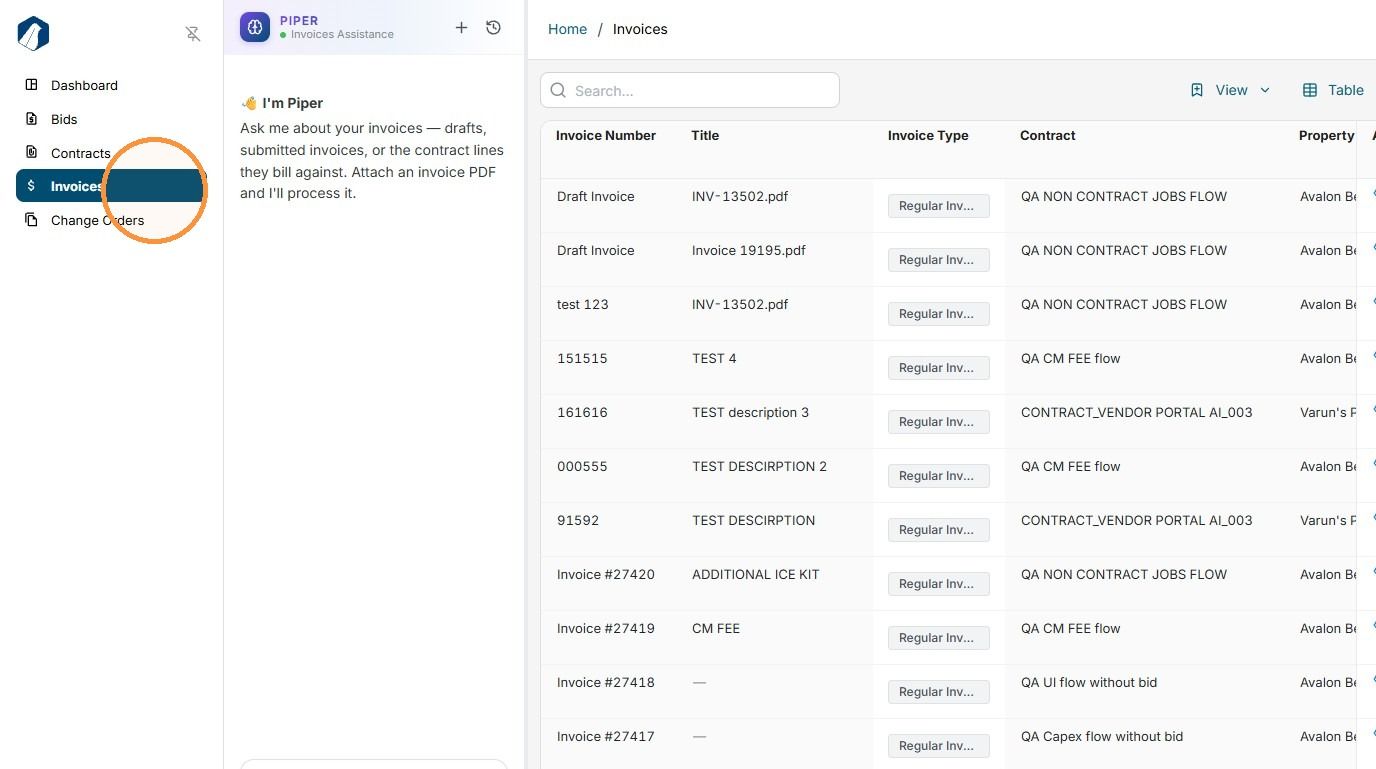
1. Click on the Invoices module to start creating a new one.
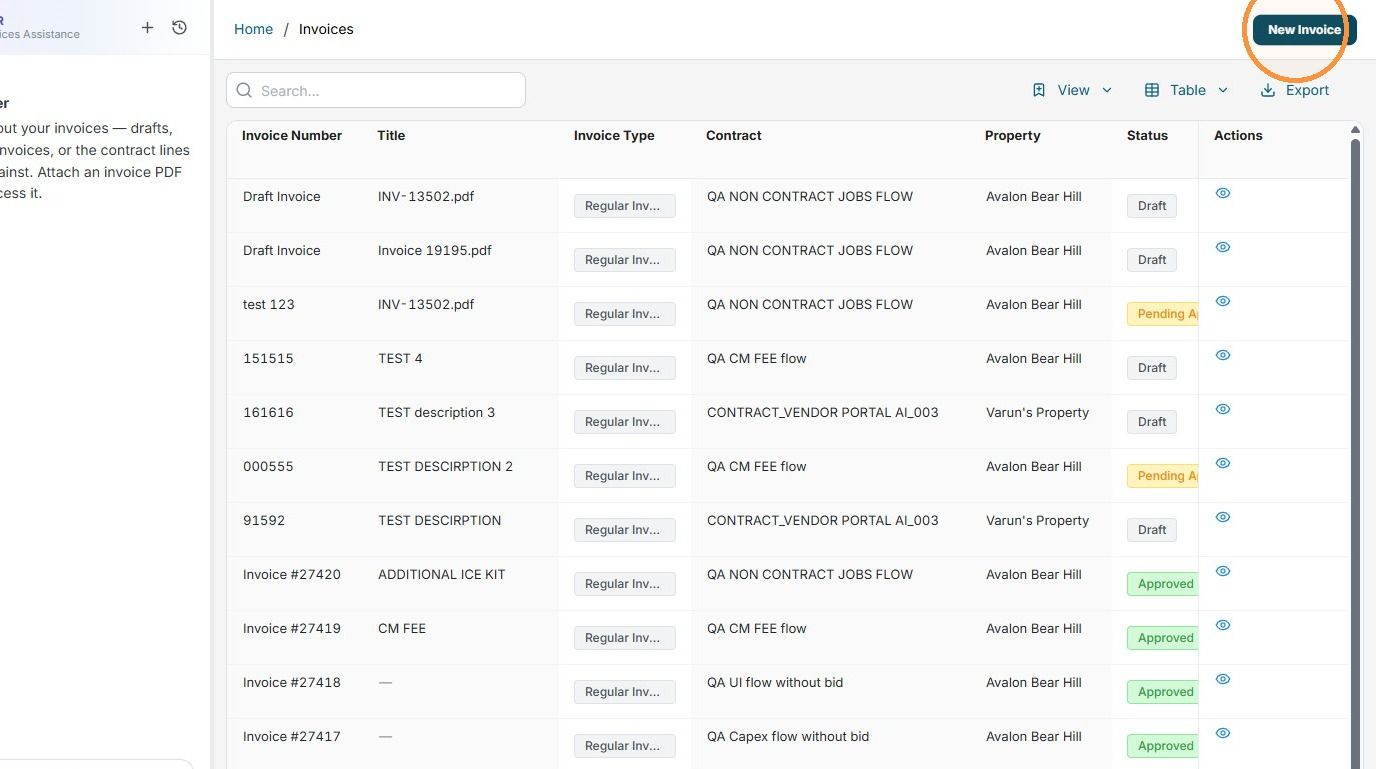
2. Click New Invoice.
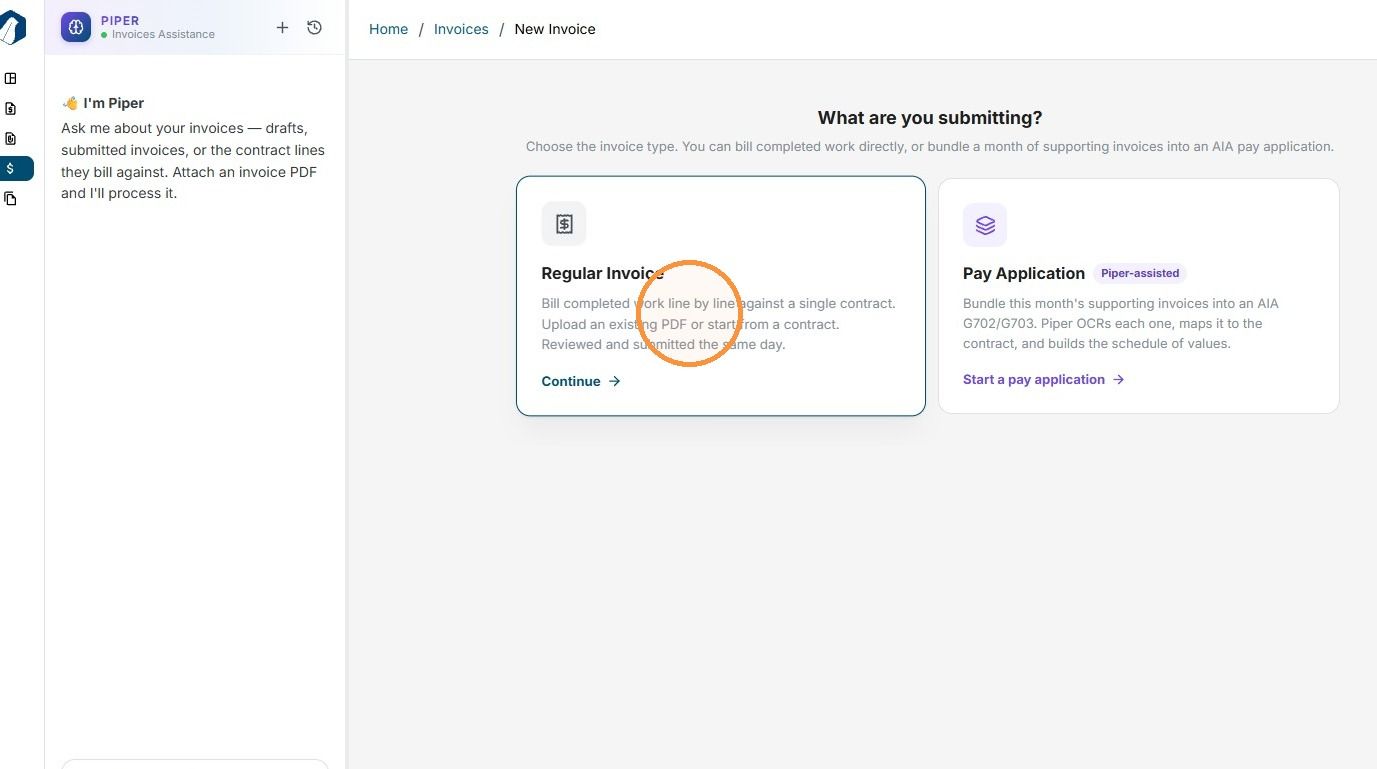
3. Select Regular Invoice.
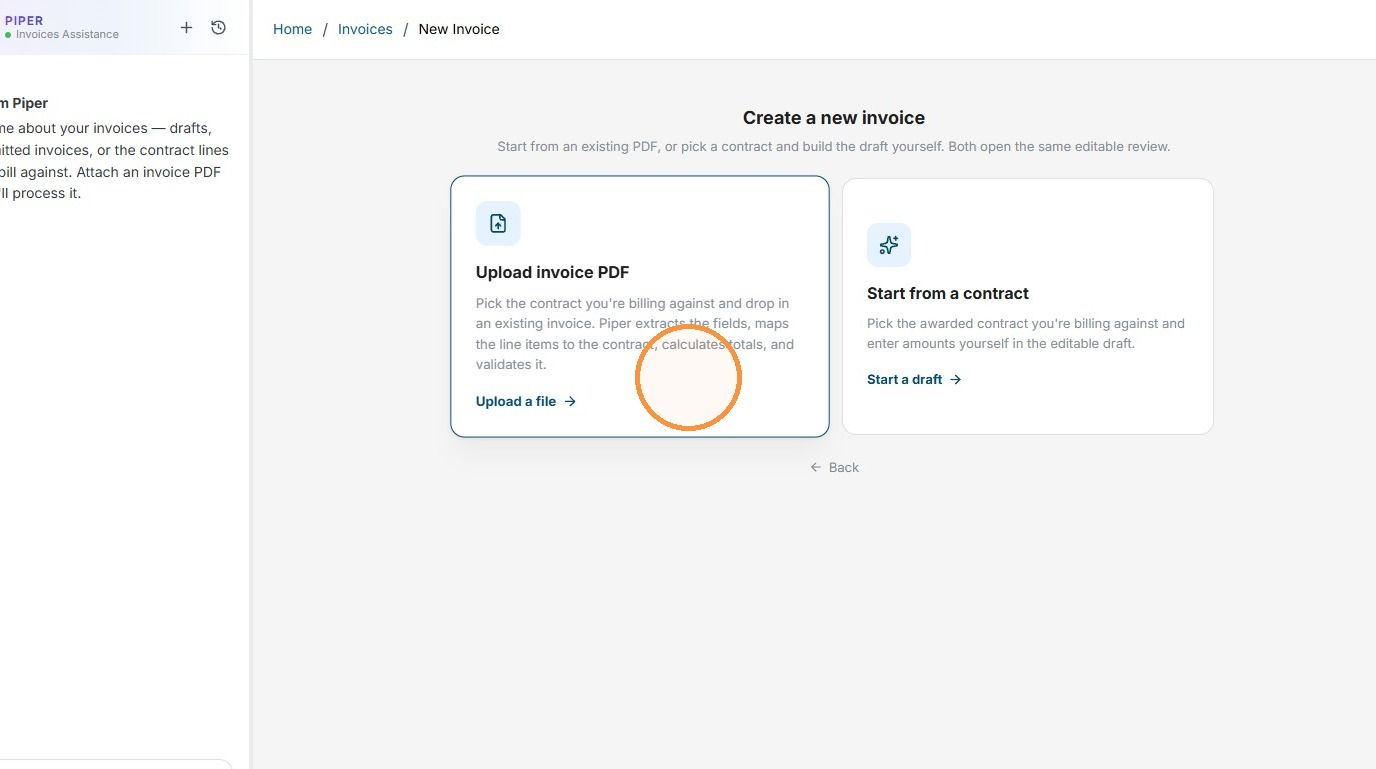
Upload Invoice PDF
4. Option 1: Upload an Invoice
Upload an invoice you already have in PDF format to submit it directly in Tailorbird Core.
5. Select the contract you’re invoicing for, then upload the PDF file or files you want to submit. Once you’ve finished uploading, click Start Extraction to begin processing the invoice data.
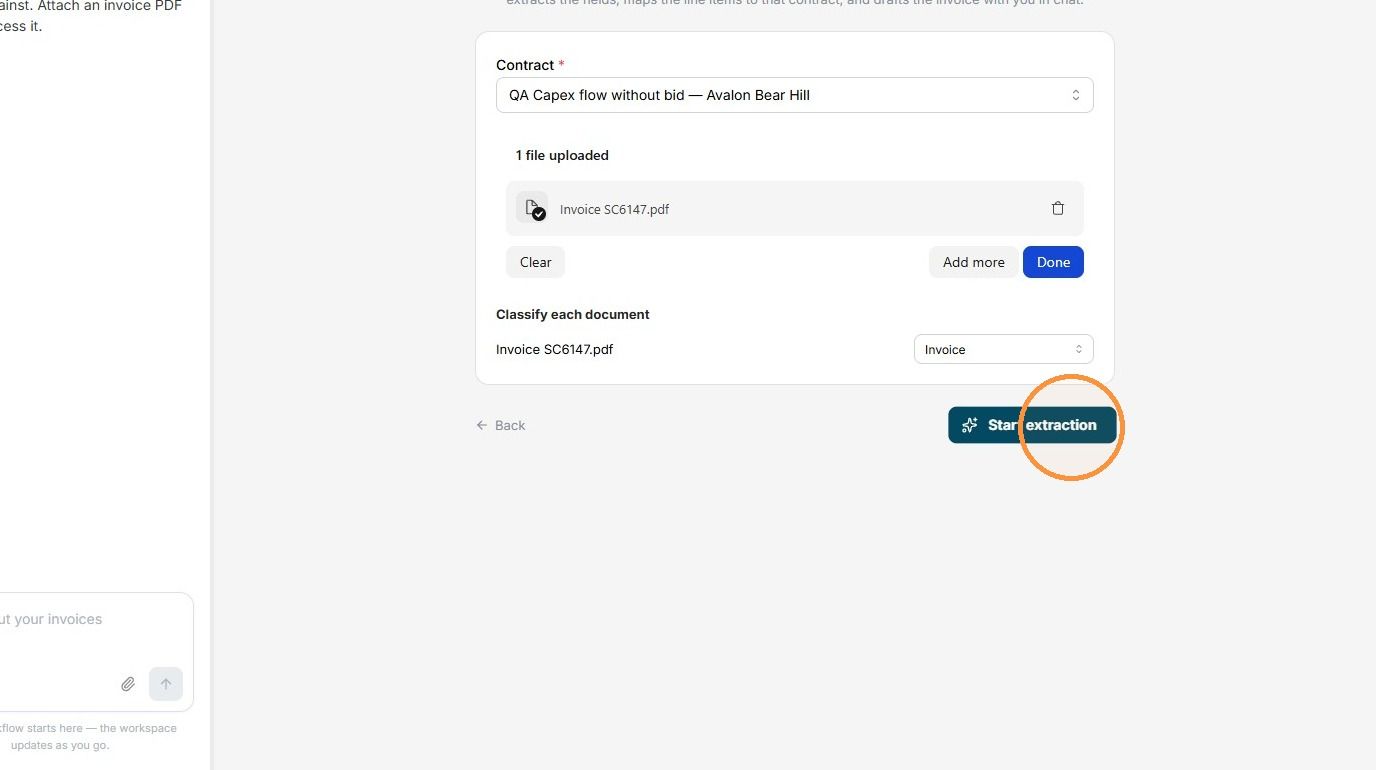
6. Our AI agent, Piper, will extract the invoice data directly from the uploaded PDF. Piper may ask a few follow-up questions to confirm specific details. The extracted information will appear on the right side for you to review and verify before submitting.
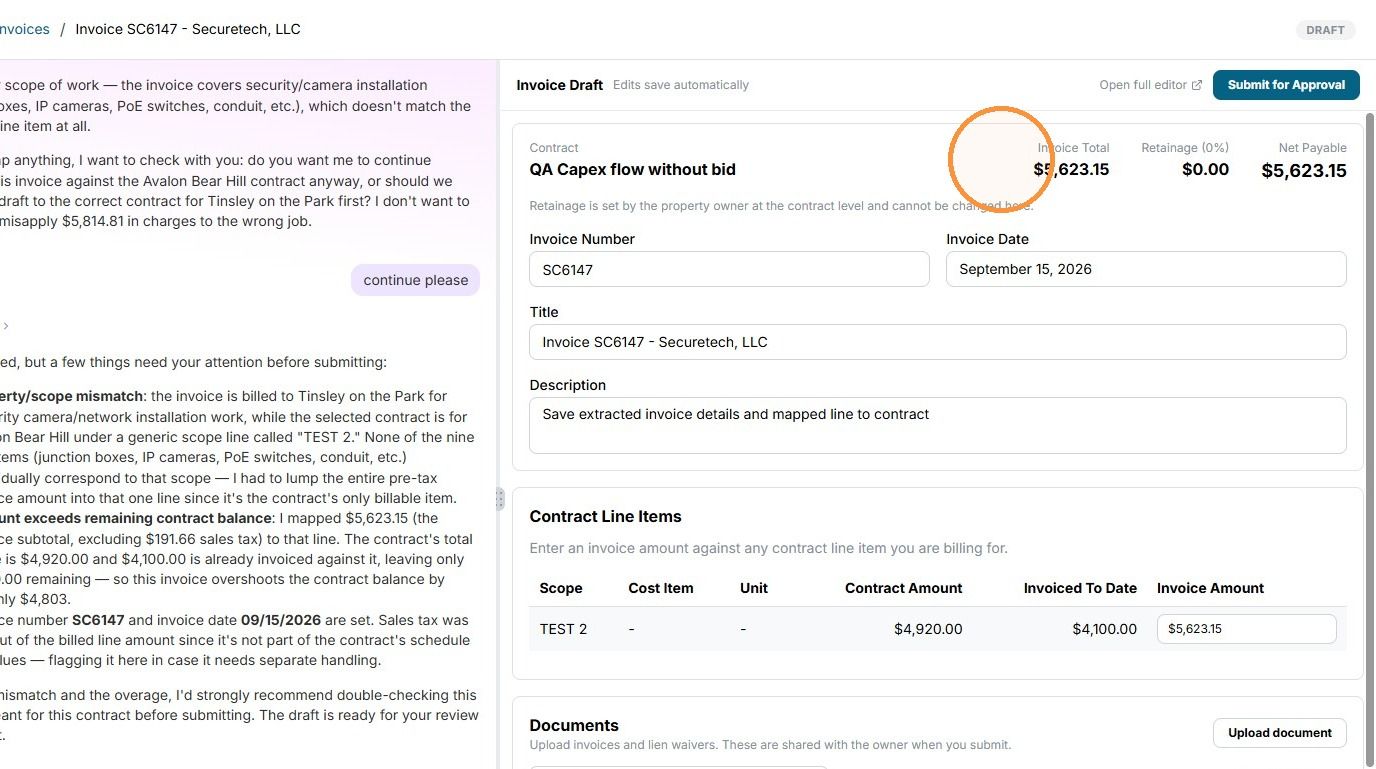
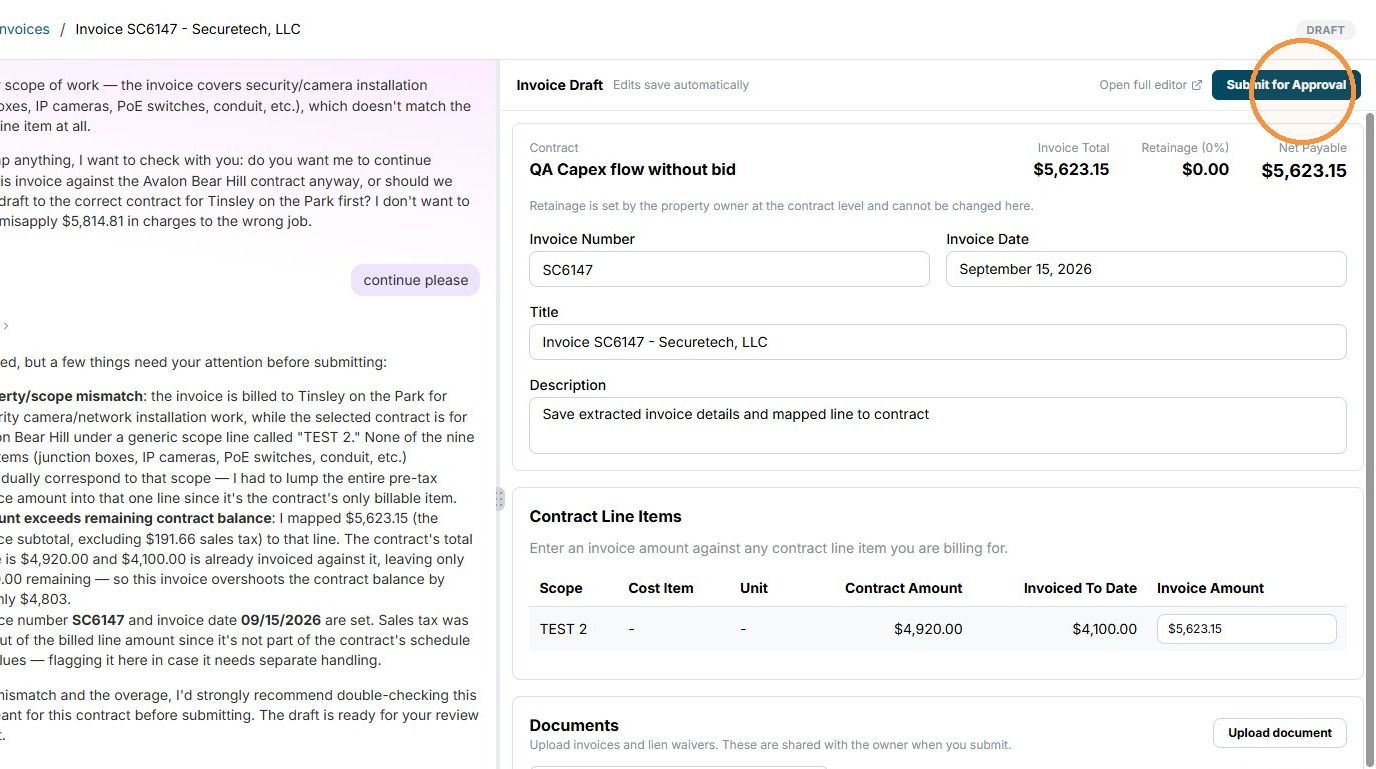
7. Once you’ve reviewed the extracted data and confirmed that everything is correct, click Submit for Approval to send the invoice for review.
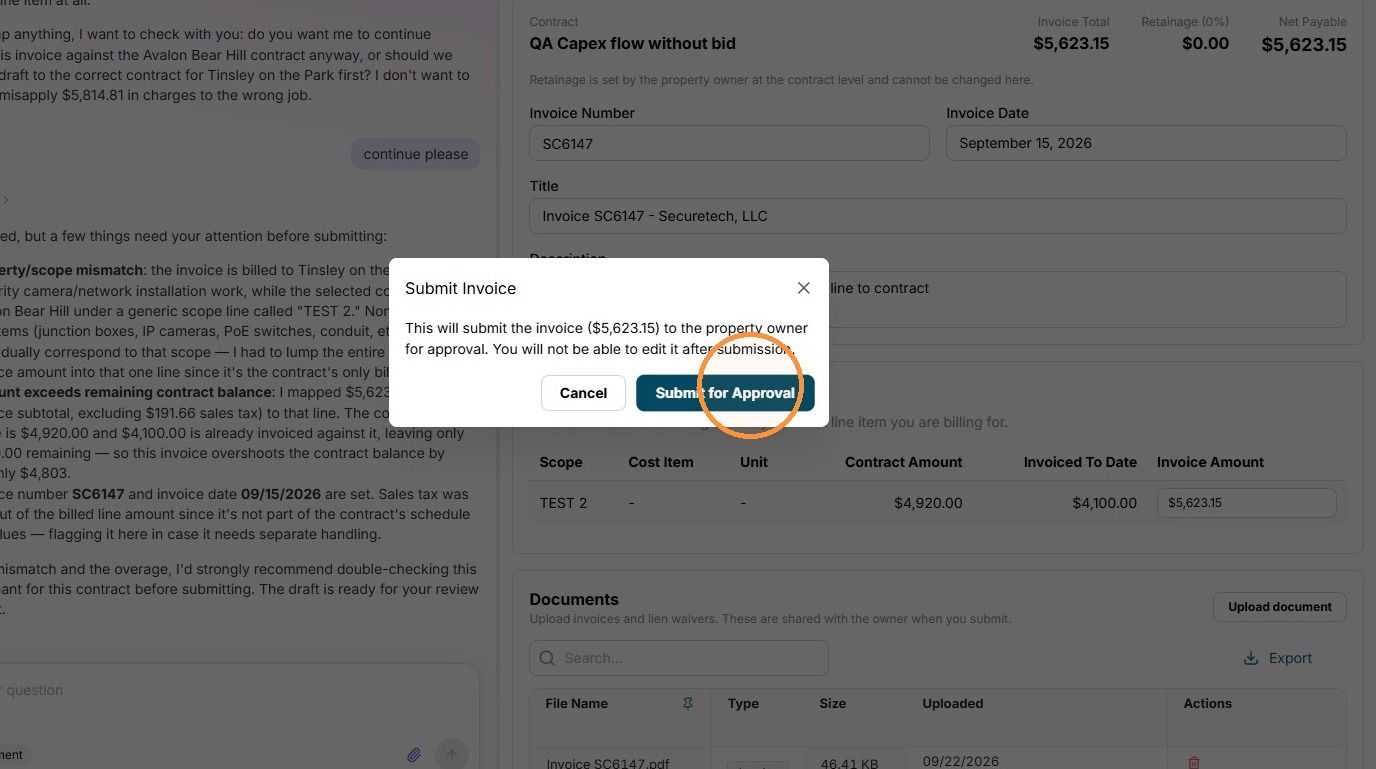
8. To confirm your submission, click Submit for Approval. Your invoice will then be sent to the customer for approval or rejection. Be sure to monitor the invoice status and follow up with the customer as needed.
Start from a Contract
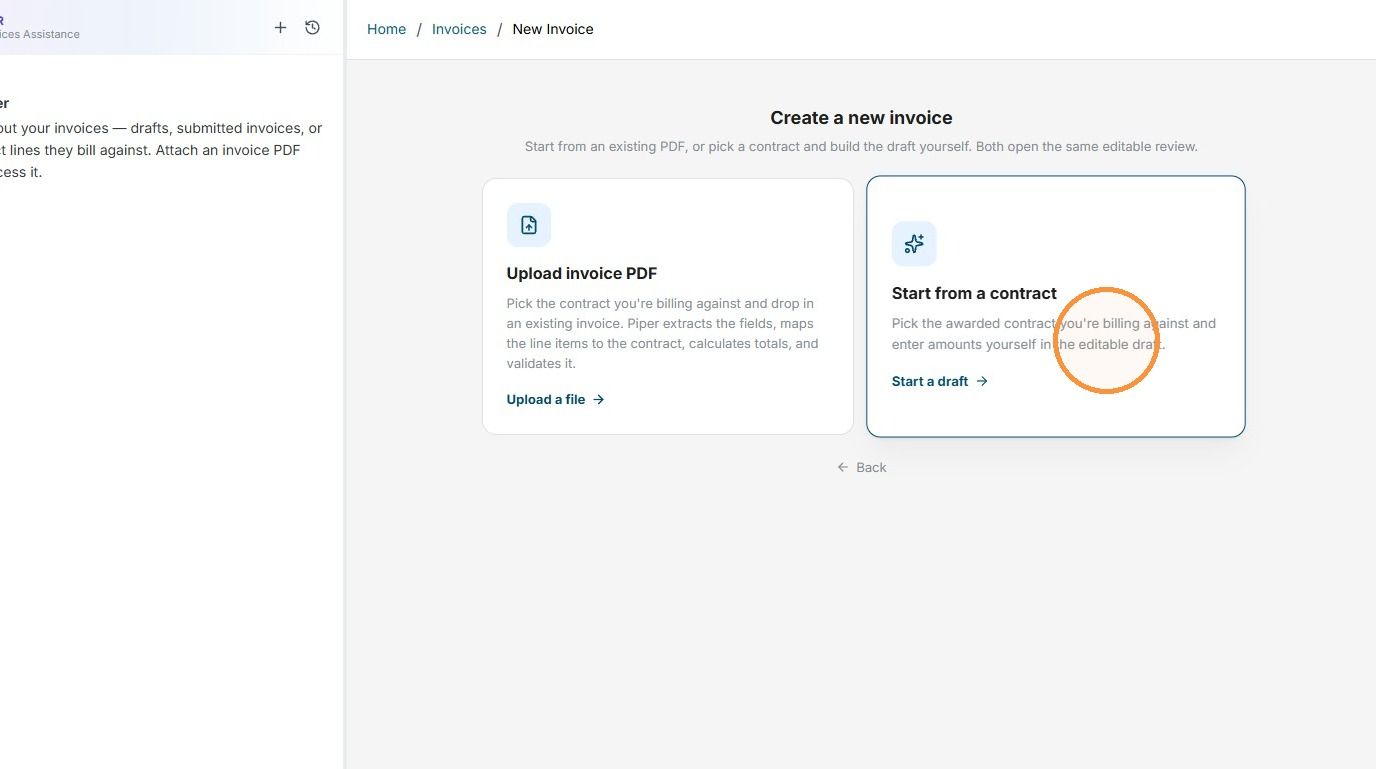
9. Option 2: Enter Invoice Data
Enter the invoice data you need for the contract either manually or using Piper, our AI agent, to help populate the required information.
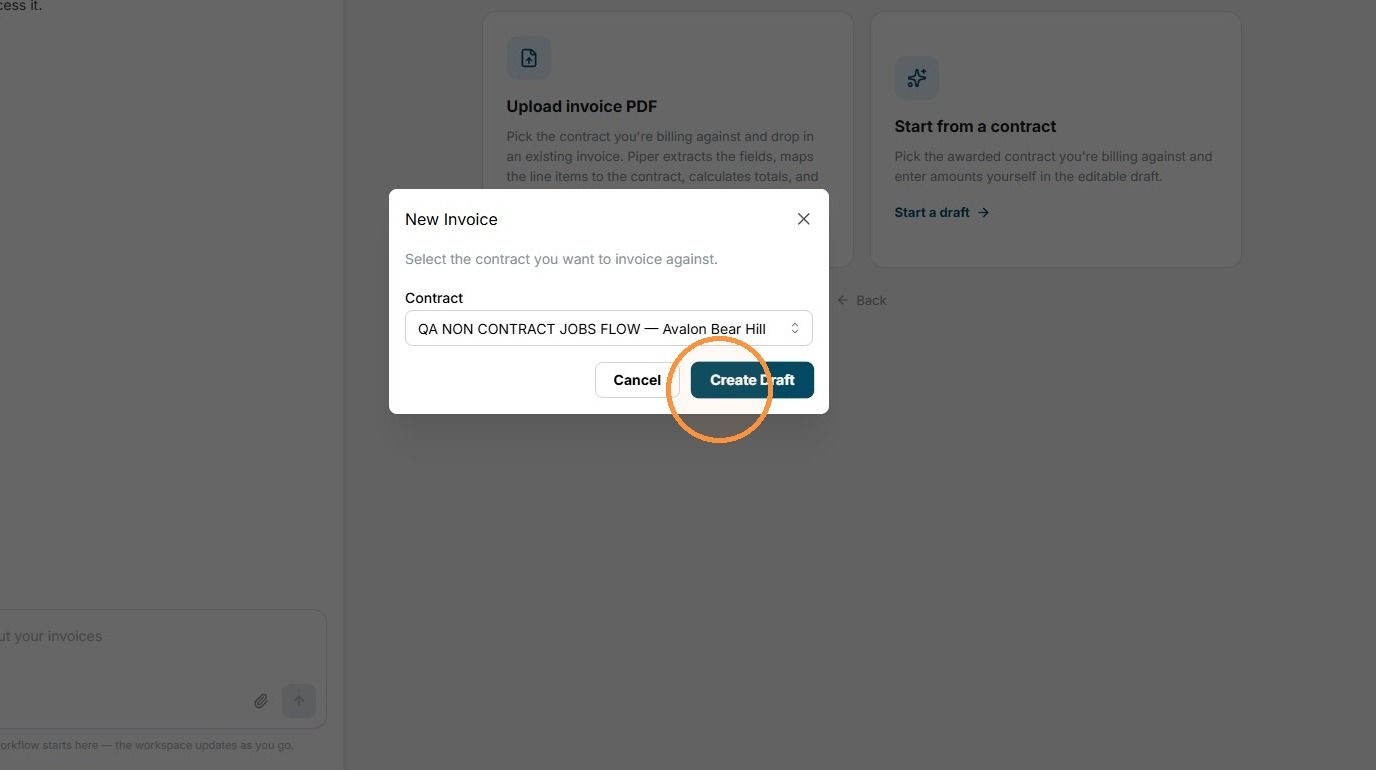
10. Select the contract you’re invoicing for, then click Create Draft to begin creating your invoice.
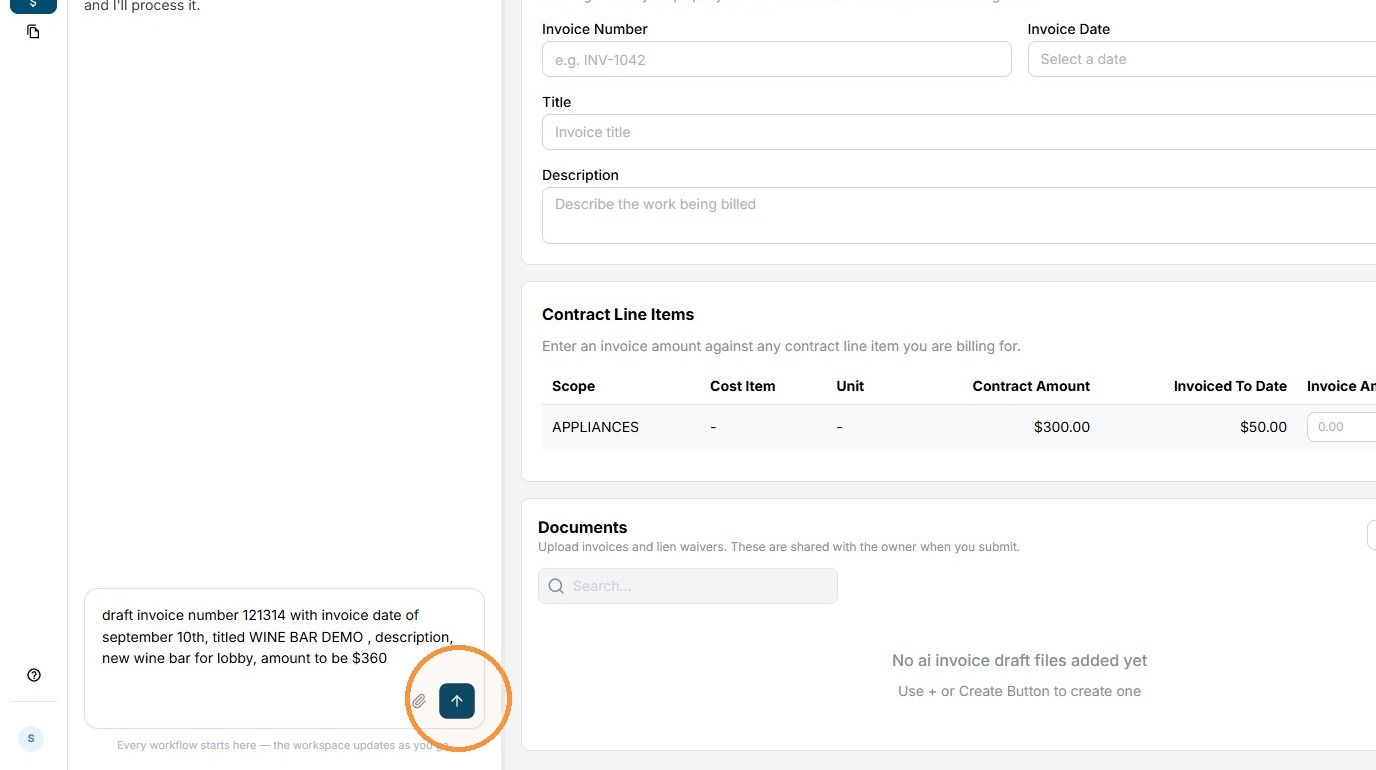
11. Use Piper’s assistance to provide the information you want to include in your invoice draft, or manually enter all the required data on the right side of your screen.
12. Our AI agent, Piper, may ask a few follow-up questions to confirm specific details. The information will appear on the right side for you to review and verify before submitting.
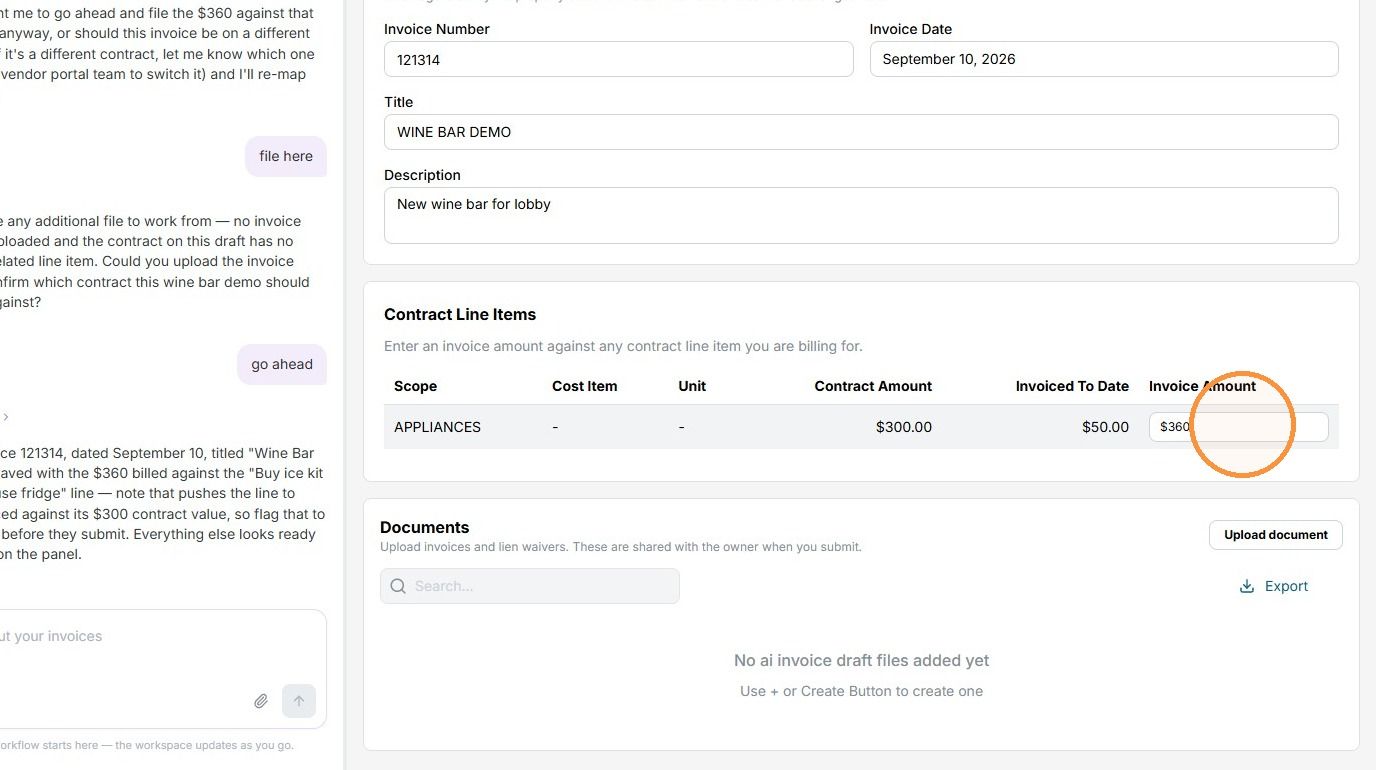
13. Once you’ve reviewed the data and confirmed that everything is correct, click Submit for Approval to send the invoice for review.
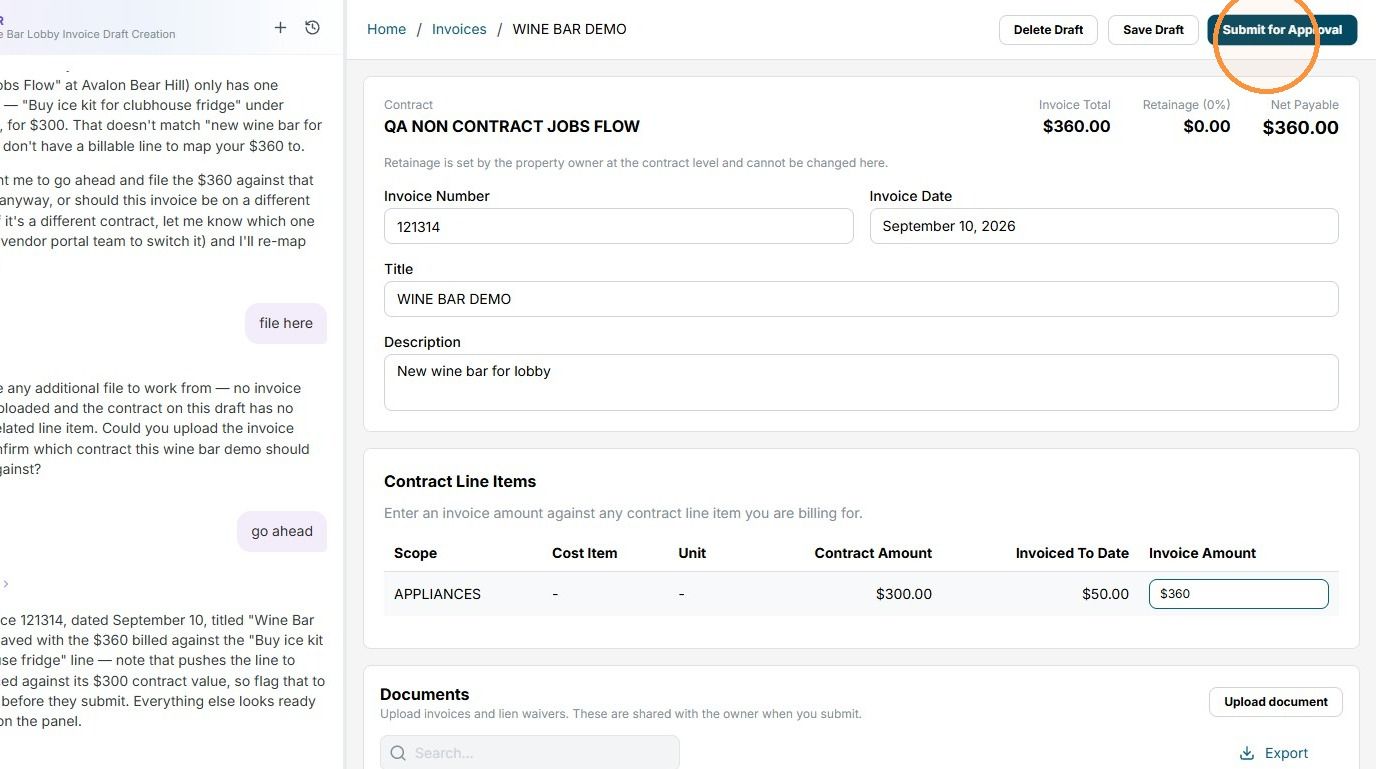
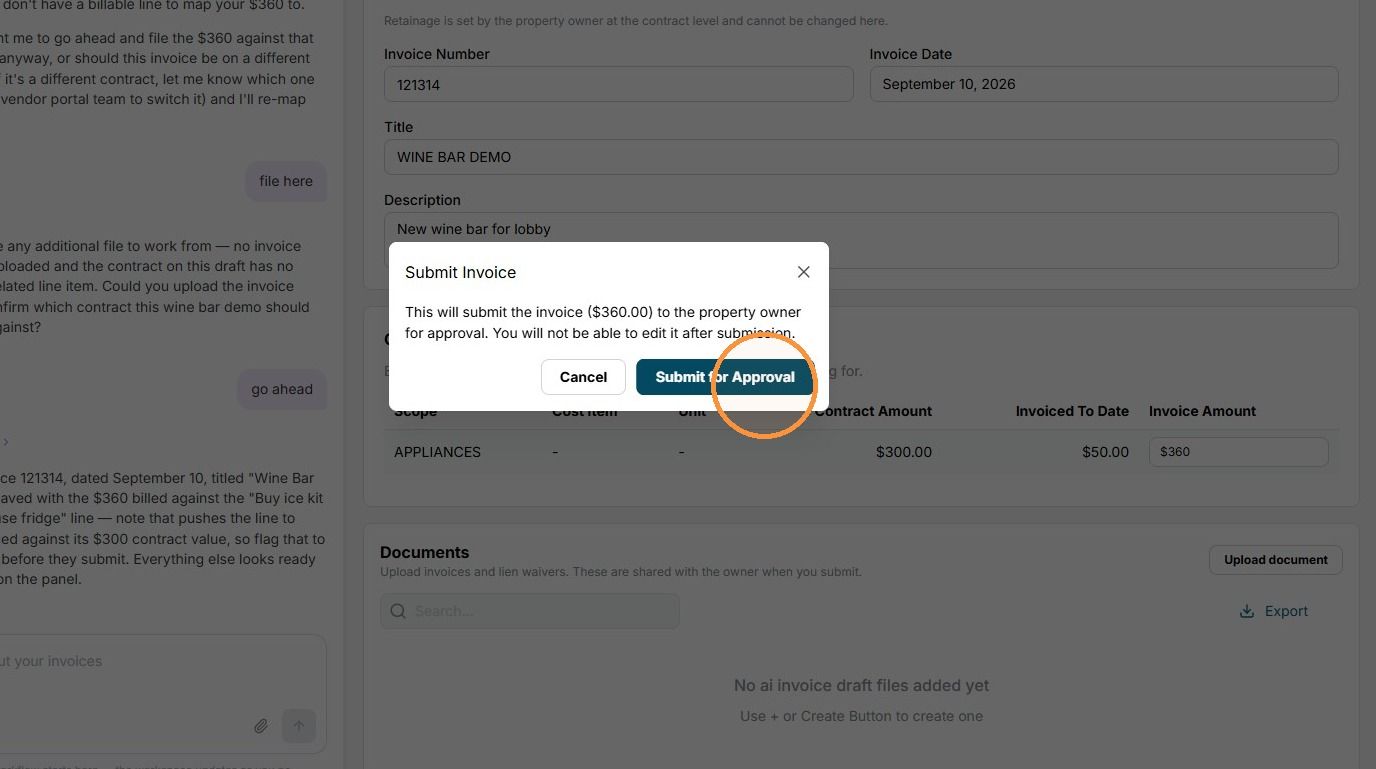
14. To confirm your submission, click Submit for Approval. Your invoice will then be sent to the customer for approval or rejection. Be sure to monitor the invoice status and follow up with the customer as needed.
Still need help? Ask the team